Tutorial 1: Before you begin↑
In these hands-on tutorials, you’ll learn how to:
- upload a trace to AQtive Guard.
- analyze the uploaded trace.
- delete the trace when you’re done.
Tip
For newcomers to AQtive Guard, we suggest beginning with the Fundamentals section of this user guide. It provides an introduction to the key concepts and terminology that you’ll come across in the tutorials.
Prerequisites↑
To complete the tutorials, you’ll need access to an AQtive Guard project and the correct system permissions to upload a trace and launch an analysis. You may need to contact your system admin for assistance.
You’ll also need to obtain the following from the Web Interface:
- project ID (
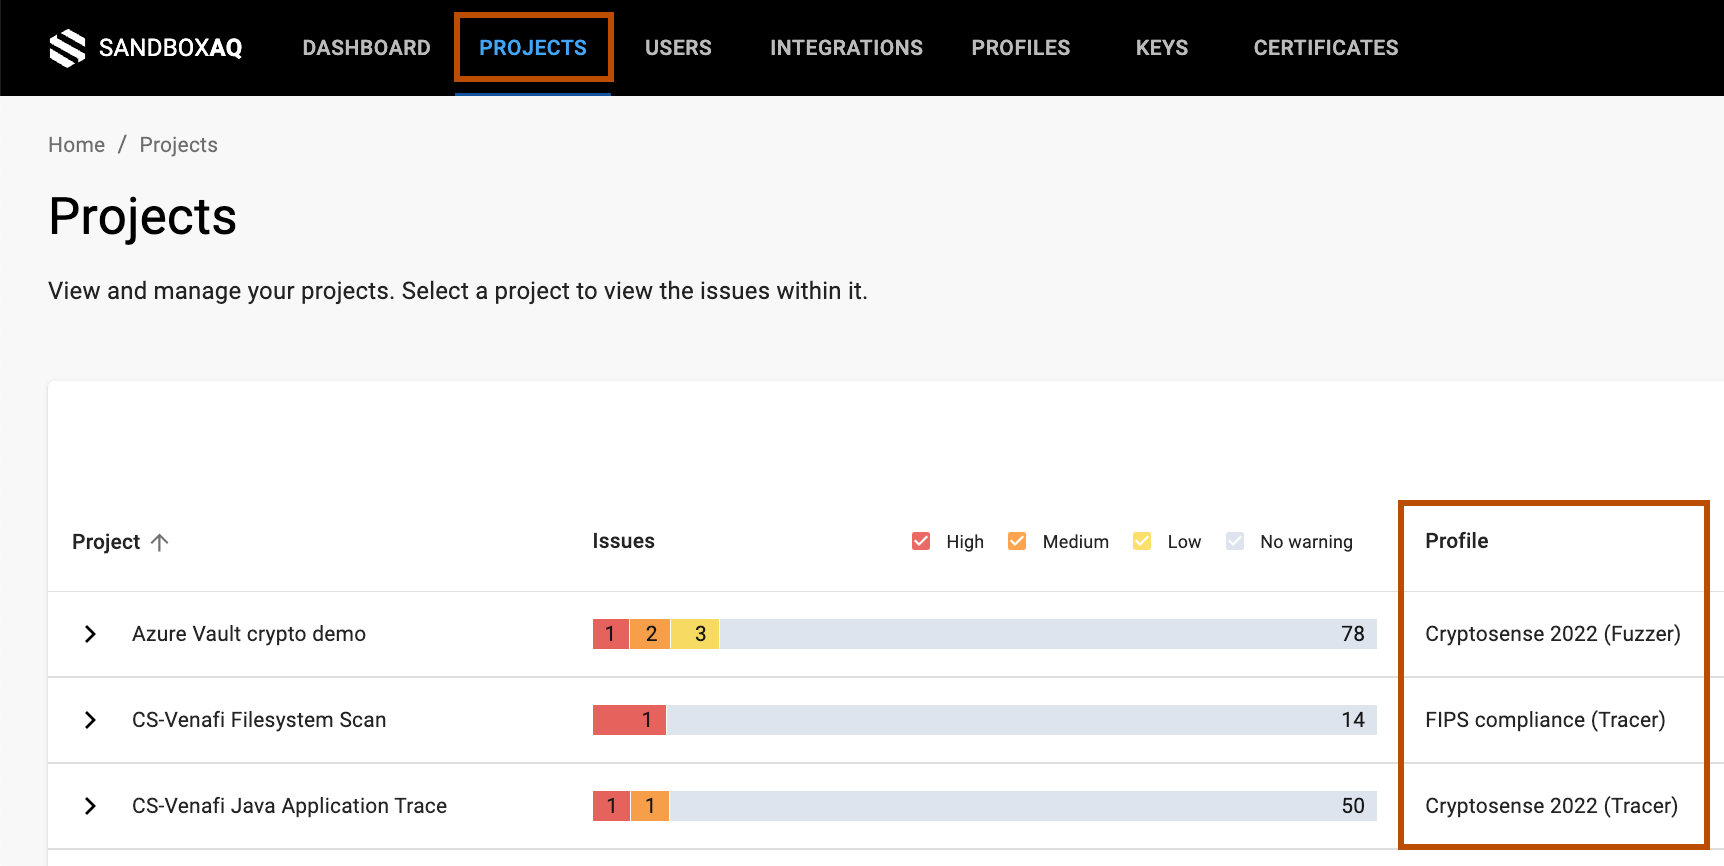
projectId) for the selected project. See Find the project ID for instructions. - profile used to create the slot for the project. Locate this in the Projects table when you retrieve the project ID.
- profile ID (
profileId) for the profile used for the trace. See Find the profile ID for instructions.
Note each of these exactly, including capital and lowercase letters, as well as any special characters.
Getting started with the tutorials↑
Once you’ve reviewed the fundamentals and gathered your prerequisite information, you can move to the command line. The instructions in Getting started with the AQtive Guard API will guide you through the set-up you need to begin the hands-on tutorials.
