Notice
This guide is for the original release of AQtive Guard. For the current AQG SaaS platform, go to the AQtive Guard User Guide.
Profiles introduction↑
Profiles set the criteria for cryptographic analysis in AQtive Guard. When you upload a trace, AQtive Guard checks the discovered cryptography against the rules defined in the chosen profile. Each time a rule is evaluated, it’s logged as an Instance within the relevant Issue and given a status.
Tip
Understanding the relationship between profiles, issues, and instances is crucial. Review Issue and Instance fundamentals to lay the groundwork for understanding how profile configurations affect analysis and reports.
Profile types↑
Navigate to Profiles from the menu bar to access the available profiles for your organization. The table may contain two types of profiles:
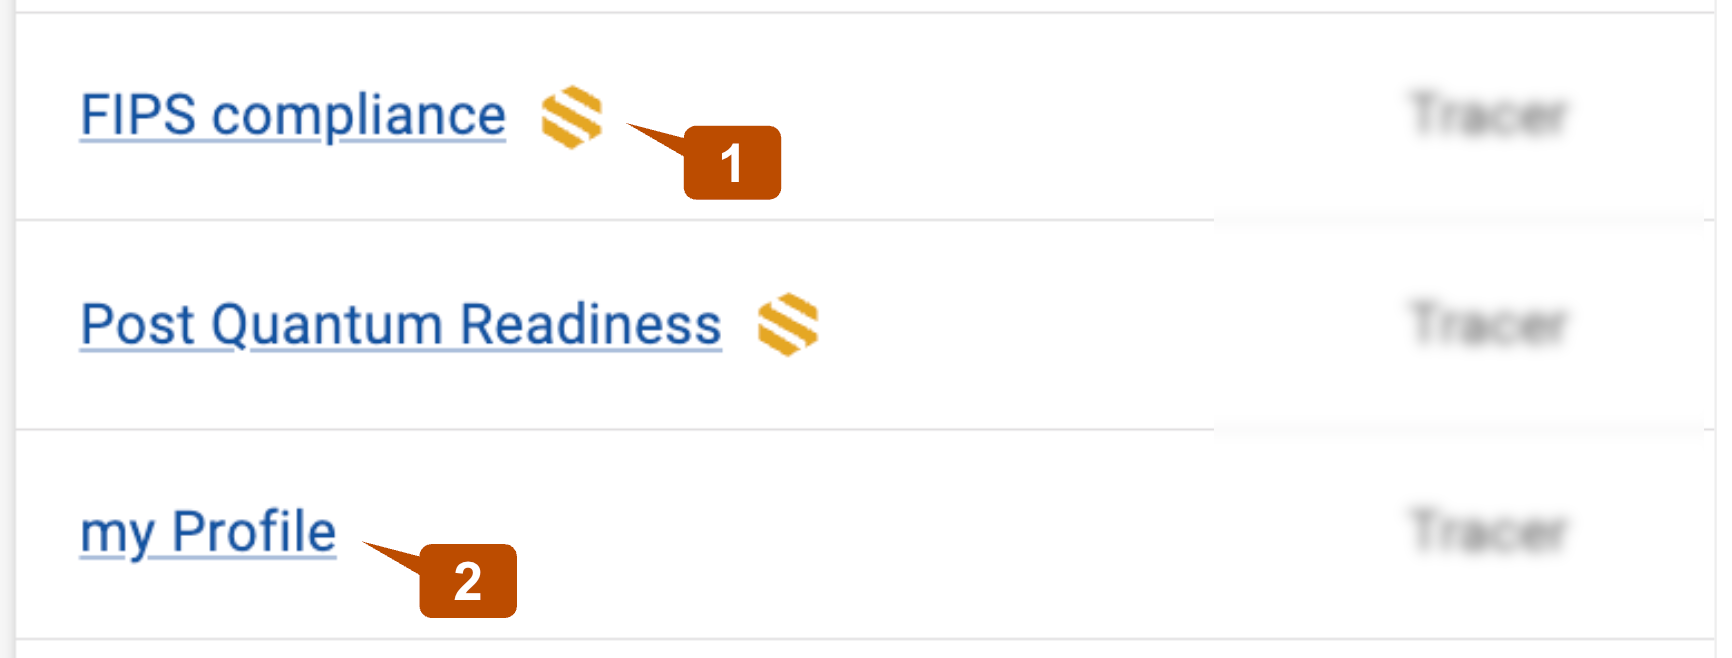
- Built-in AQtive Guard profiles, identified by the gold AQtive Guard icon
- Custom profiles configured by your organization
Note
AQtive Guard profiles are engineered to adhere to industry best practices and cannot be altered. However, you can use them as a starting point to configure a custom profile tailored to your organization’s policies and needs.
AQtive Guard profiles↑
AQtive Guard pre-defined profiles perform complementary functions, including:
- Cryptosense 2022 (Fuzzing + Tracing): SandboxAQ recommendations.
- FIPS provider check: Used to verify whether cryptographic libraries used are compliant with the Federal Information Processing Standard and implemented in the right way.
- FIPS compliance: Used to remediate a failure in the FIPS provider check.
- ECRYPT: European Network of Excellence in Cryptology recommendations.
- NIST: National Institute of Standards and Technology recommendations.
- Post Quantum Readiness: Used to evaluate your organization’s readiness for attacks that could be performed with quantum computing.
Find the Profile ID↑
When a query in the AQtive Guard API requires a profile ID, you can find it using the Web Interface.
- Select Settings from the menu bar, then select Profiles.
- Select the desired profile name to view the profile details. The profile ID is the number that follows profiles in the AQtive Guard web interface URL:
your-domain.aqtiveguard.sandboxaq.com/organization/profiles/your-profile-id/detail
Configure a profile↑
Profiles determine the rules for evaluating an instance, as detailed in Issue and Instance fundamentals. These instructions explain how to create a new profile or configure a custom profile using an existing profile as a template.
Create a new profile↑
- Log in to AQtive Guard with the required system permissions.
- Select Settings from the menu bar, then select Profiles.
- Select Add New Profile.
- Assign a unique Name to your new profile.
- Customize the new profile:
- Activate a rule by toggling its Status to On.
- Where prompted, edit the rule thresholds as desired.
- Select Create.
Tip
Default thresholds are established using general industry best practices. If you’re uncertain, keep the default settings.
Configure a custom profile↑
You can’t edit a profile. Instead, follow these steps to duplicate an existing profile as a template and configure a new custom profile.
- Log in to AQtive Guard with the required system permissions.
- Select Settings from the menu bar, then select Profiles.
- Locate a profile that most closely aligns to your requirements.
- Using the three-dot kebab menu at the end of the row, select Duplicate to open a customizable copy of the profile.
- Assign a unique Name to your new profile.
- Customize the new profile:
- Activate a rule by toggling its Status to On.
- Where prompted, edit the rule thresholds as desired.
- Select Create.
Tip
Default thresholds are established using general industry best practices. If you’re uncertain, keep the default settings.